The Only Guide for Landscape Light Installation
The Only Guide for Landscape Light Installation
Blog Article
The smart Trick of Landscape Light Installation That Nobody is Talking About
Table of ContentsIndicators on Landscape Light Installation You Should KnowLandscape Light Installation for DummiesSome Of Landscape Light Installation8 Simple Techniques For Landscape Light InstallationThe Best Strategy To Use For Landscape Light InstallationSome Ideas on Landscape Light Installation You Need To Know
Without any type of significant electrical experience I went on the quest for very easy to install reduced voltage landscape lights. That meant no circuitry or minor construction. Roger had his questions however quietly (well, virtually quietly) he saw from the sidelines. Reduced voltage landscape lights are powered with a transformer, that affixes to the wire, that decreases the voltage from regular 120 volts to 12 volts.30 mins was all it took to provide our home a magical glow at evening.
I probably might have gotten by with less lights but the 4 light set was the tiniest one offered. After I tightened down my choices I browsed for lights that had wonderful evaluations.
The idea was to put 3 on either side of the front veranda. I figured that that would certainly be sufficient. When I got them and laid the lights out I understood the 3 and 3 setup wouldn't work. Also though I got a whole lot of cord with the set, I would have had to dig under the pathway in order to hide the wire.
Landscape Light Installation - Truths
 Bear in mind, I wanted this to be easy with no excavating and no rewiring. While I identified a repair I just mounted all 6 by the guest bed room to see exactly how they would look. A fast word of caution. We are just connecting in lights it's important to be secure and make use of caution when working with electrical power.
When the wires were buried I plugged the limelights right into my outside expansion cord, that is connected in to an outlet on the home. To make points even much easier I likewise used a timer. Now the landscape lights switch on and off automatically at set times each evening. When the sun set and my lights activated I went outside and adjusted them to hit the front of the house.
Like I said, the tiniest collection I could get was 4 lights to make sure that's what I got. Once they arrived I mounted them following the same steps as the first collection of lights. Actually, an extremely simple way to include a beautiful glow to your home. I ought to have done it 5 years earlier.
Some Known Details About Landscape Light Installation
He would not admit that I was right butI was right.
# 10 scale exterior cord # 12 scale exterior cord 1-1/2 in. x 12-in. PVC pipe 1-1/2-in. PVC cap with -in. women thread -in. copper pipe For each ground light: 1-1/2-in. PVC coupler with -in. tee for cord opening Lighting One box of weatherproof cord connectors Transformer Two -in. sweat-to string copper adapters Expansion ladder Yard rake Level Posthole digger Shatterproof glass Voltage tester Cable stripper/cutter Wrench setvolt me Volt meter A yard spade Light weight aluminum tent stakes.
Mount lights where they will websites not be quickly harmed by plows or shovels. Keep in mind, too, that the plants you brighten will go through seasonal adjustments. Not all plants must be evergreens, some plants such as hydrangea, dogwoods and sumac are fascinating illuminated even when leafless. As soon as you have your materials, your tools and your strategy, it's time to call 811.
It's a complimentary service and you'll stay clear of unsafe and costly shocks. Usage 10-gauge cord for the major lines from the transformer to where the lights begin, after that change to 12-gauge cord in between the lights. To bury the cords where they go across the yard, utilize a flat-nosed shovel to reduce a slot and fold back the turf.
Landscape Light Installation - An Overview
Making use of the PVC pipe, construct and hide a footer that will certainly house the cable links and support your pole extensions (recommended to be made from 1/2- inch copper pipe). Link the cords with weatherproof cord ports. These wire ports have a guard under and a blob of sealant inside that make them weatherproof.
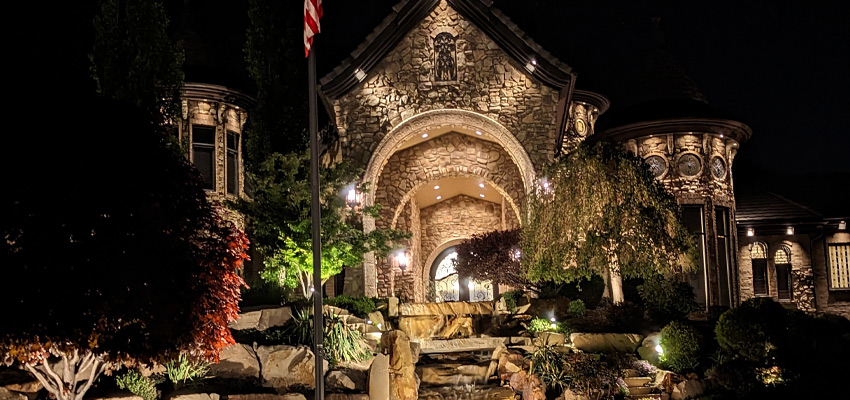
Having a strong strategy relating to landscape illumination is more crucial than you may think of. Appropriately illuminating areas in your yard and your home throughout the night not only offers a wonderful sight of your house but can likewise deter potential vandals or robbers. If you're not certain where to begin with landscaping lights, you remain in the best location! Here is our handy outside lights guide, where we will stroll via where to place landscape illumination, what kinds of lights to use, and exactly how to utilize light for the ideal result.
The 5-Minute Rule for Landscape Light Installation
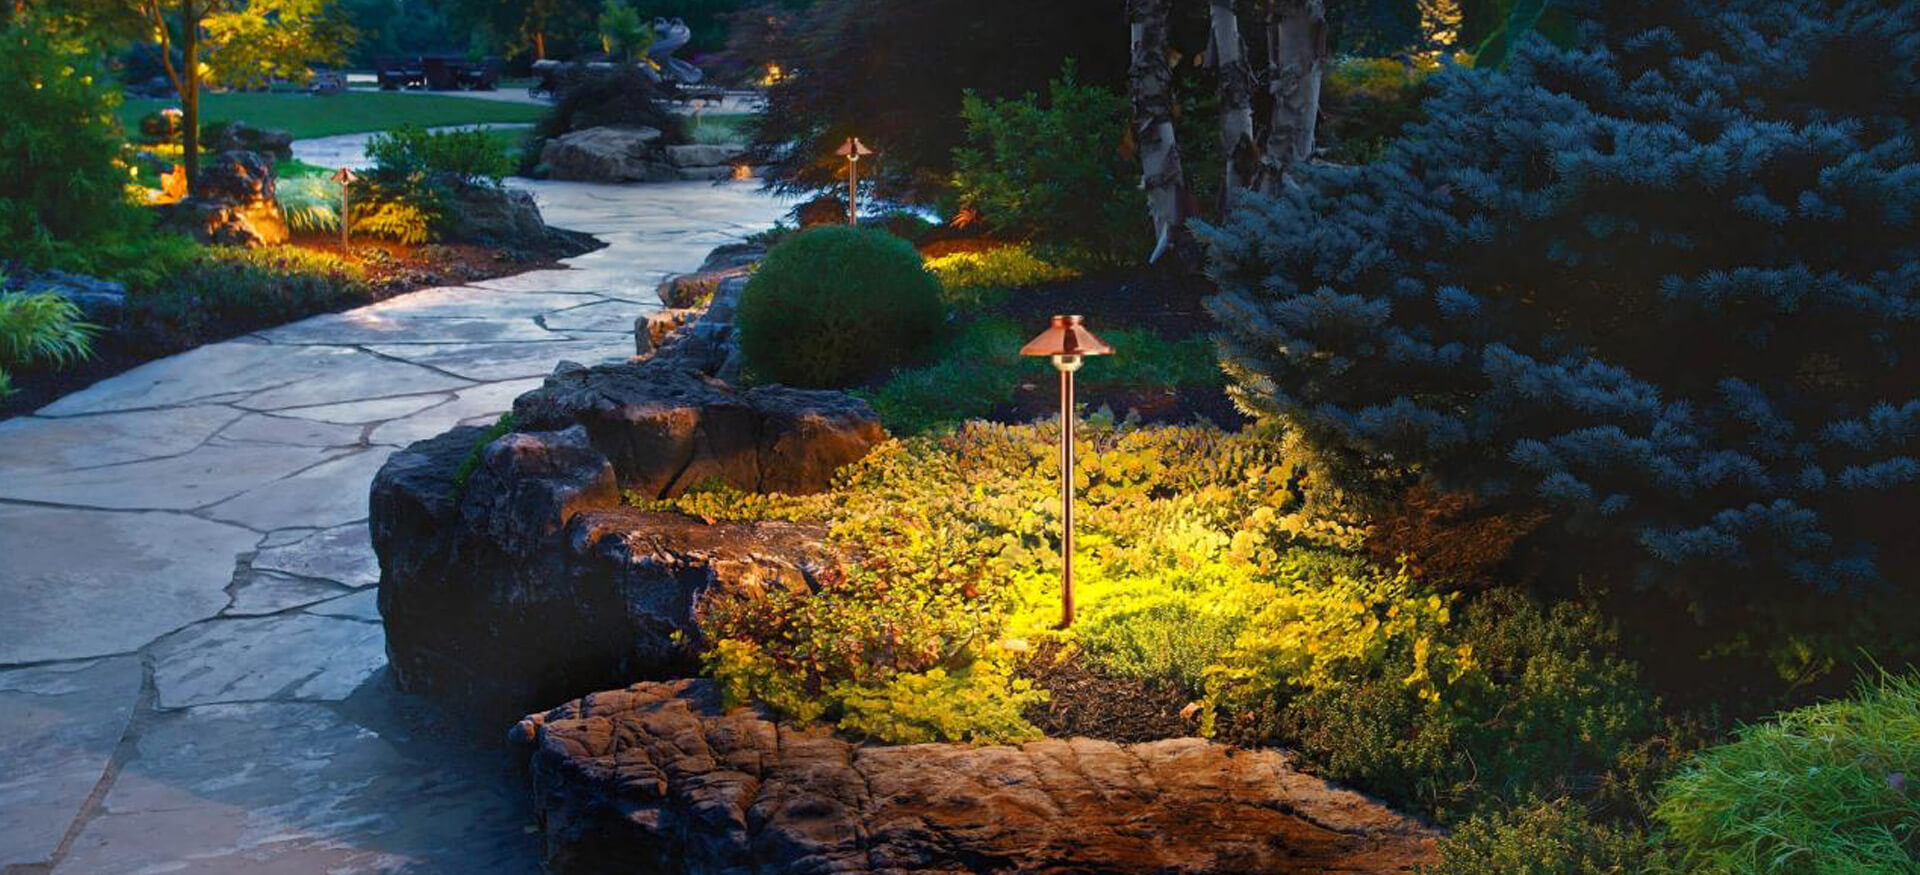
It's a cost-free solution and you'll avoid unsafe and expensive shocks. Use 10-gauge cord for the main lines from the transformer to where the lights begin, this website then change to 12-gauge cord between the lights. To hide the cords where they cross the grass, make use of a flat-nosed shovel to cut a slot and fold back the turf.
Because the transformer will certainly constantly be plugged in, you must change the common electrical outlet cover with an in-use weatherproof cover, offered at most major home enhancement centers and hardware shops. The ground stakes that come with many vertical illumination fixtures are not solid sufficient (or go deep sufficient) to keep them good and straight gradually with altering dirt conditions, disintegration, and so on.
Utilizing the PVC pipeline, construct and bury a footer that will certainly house the cord connections and support your post expansions (recommended to be constructed from 1/2- inch copper pipeline). Link the cables with weatherproof cable ports. These cable connectors have a shield under and a ball of sealer inside that make them weatherproof.
Get This Report on Landscape Light Installation
Having a solid plan relating to landscape illumination is extra crucial than you might visualize. Effectively illuminating areas in your backyard and your home during the like this evening not just supplies a fantastic sight of your house yet can additionally hinder possible vandals or burglars. If you're unsure where to begin with landscape design lights, you remain in the ideal location! Below is our convenient outside lights overview, where we will go through where to position landscape lights, what kinds of lights to make use of, and exactly how to use light for the very best result.
Report this page